Google Search Console provides a wealth of information about your website. It is the tool Google leverages to communicate with webmasters. Search Console can notify you of issues and allows you to make requests of Google. It even reports crawl errors. Let’s discuss how to fix crawl errors using the Index Coverage report in Google Search Console.
Finding the Index Coverage Report
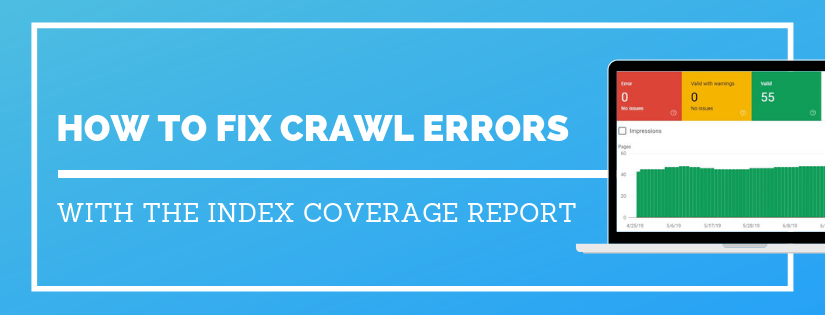
To access the Index Coverage report navigate to the property (website) you want to view in Google Search Console. Under Index on the left hand menu, click on Coverage.
The Type of Data Included in the Index Coverage Report
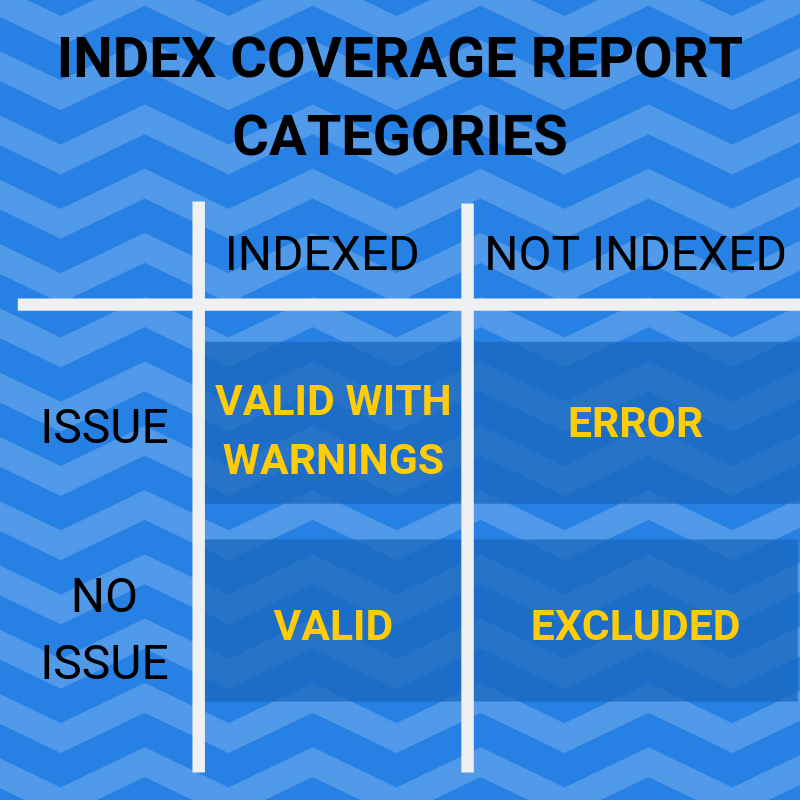
The Index Coverage report will list out four categories of web pages found on your website. Pages with errors, valid pages with warnings, valid pages, and excluded pages.
Pages with Errors
The 1st Tab in the Index Coverage Report
The Error tab should be your highest priority in the Index Coverage report. This is where you’ll find crawl errors. This is the list you need to concentrate on first because these pages are not being indexed.
Valid Pages with Warnings
The 2nd Tab in the Index Coverage Report
These pages are being indexed but Google has identified a potential issue with the page.
Valid Pages
The 3rd Tab in the Index Coverage Report
These are the pages currently indexed for your website. This list should steadily increase as your website grows.
Excluded Pages
The 4th Tab in the Index Coverage Report
These pages are not indexed, but that’s okay. These pages are duplicate or alternate versions of a page that is valid and already indexed.
So, How Do I Fix My Crawl Errors?
Now that we know where the Index Coverage report lives and what data it provides, let’s dig into fixing crawl errors.
Each of the four tabs (error, valid with warning, valid, and excluded) will group pages by a specific type. So, first choose one of the four tabs at the top and then click on a row at the bottom to view the full list of URLs.
The fix for each crawl error will vary depending on the particular type of error. Let’s go over how to fix the various types of issues you’ll find in the error tab.
Fixing Server Errors (5xx)
This error means that Google tried to crawl your site and received some type of 500 error. This was caused by an error at the server level.
The first thing you should do is try and access the page. If it loads for you the issue likely has already been resolved.
If the page is inaccessible try contacting your IT team or hosting company to see if there are any outages.
Fixing a Redirect Error
This error means that there is a broken redirect. This could mean there was a redirect loop or a redirect chain that was too long.
Redirect issues can eat through crawl budget which isn’t good for Google or your website.
Having a redirect in place is not an issue but make sure your redirect goes from point A to point B. Over time your site structure can change and sometimes redirects become longer. When this happens, you just need to clean up your redirects so there are no chains or loops.
Fixing this will vary depending on how the redirect was implemented in the first place.
If you use a CMS such as WordPress you may be utilizing a plugin to implement redirects. If that’s the case you just need to review the current redirects for the URL and clean them up so the redirect is as direct as possible.
If the redirect has been added to the .htaccess file you will need to contact your site admin to assist. To streamline this process have documentation ready with the original URL and the final URL you want the redirect to point to.
Fixing a Submitted URL Blocked by robots.txt
This means that there is a URL you have submitted (in your sitemap) that is being blocked by your robots.txt file. Google can’t index the URL because you have blocked it.
If you want it indexed, then open your robots.txt file. Find the line blocking the URL in question and remove it.
If you don’t want the URL indexed, then take a look at your sitemap.xml file. Find the URL, remove it, and you’ll be good to go.
Fixing a Submitted URL Marked ‘noindex’ Issue
Similar to the previous issue, you have submitted a URL (in your sitemap) but you have marked the URL as noindex either in the meta tag or HTTP header.
View the source code of the page and do a search (ctrl+F) for noindex. This should locate where the issue is on the page.
If you use the Yoast SEO plugin in WordPress you can control this setting under the Advanced tab.
Fixing a Submitted URL Seems to be a Soft 404 Issue
This means you submitted this URL (in your sitemap) but it didn’t get indexed because the page is likely a soft 404.
A soft 404 is what Google uses to identify a page that technically is not an error page (has a 200 status code) but the content makes it appear like it should return a 404 error page instead.
Review the page content. Is there a broken element? Does the page have thin content?
Either update the page, redirect it to a different relevant page, or remove it entirely so the URL goes to a 404 error page.
Fixing a Submitted URL Returns Unauthorized Request (401) Error
This error means you submitted a URL but the page requires credentials and Google can’t proceed.
You don’t want pages that require user logins to be indexed. The best fix for this error is to find out where on your website Google found the link and remove it. Start by reviewing your sitemap.xml file.
Fixing a Submitted URL Not Found (404) Error
This means the URL you submitted for indexing does not exist, and therefore can not be indexed.
If the URL should exist, then check the page. There is likely a type-o in the actual URL or submitted URL. Add a 301 redirect so both versions exist.
If the URL should not exist then find where Google found the link on your website and remove it. Start by checking the sitemap.xml file.
Fixing a Submitted URL has Crawl Issue
This is a generic error message. The issue doesn’t fall into the categories above. It can be related to blocked resources, javascript, or a long load time.
You can troubleshoot the error by using the URL Inspection tool in Google Search Console.
How to Tell Google You’ve Fixed the Issue
Go through the errors one type at a time. Review and fix each reported URL in the type list. Once completed, click Validate Fix at the top of the error type page.
This will notify Google that you believe all reported page errors for this error type have been corrected. This will begin their process to confirm the fix and get those pages indexed!
These errors should be a top priority. Once they’re fixed it’s good to continue moving through the tabs and fixing any other potential problems.
Fixing the Warnings
Under the Valid with warnings section you’ll find one type of issue: Indexed, though blocked by robots.txt.
You’ll want to address these because even though the page is indexed, it’s going to be a sub-optimal display in the search results page. Google won’t be able to pull the meta information to include in the search snippet.
If this page should be indexed, then remove it from your robots.txt file.
If the page should not be indexed, then add a noindex meta tag to the page.
Now we’ve addressed both the errors and warnings. Let’s move on to the valid pages to make sure everything is optimal.
Optimizing Valid Pages
The report under the Valid tab separates the pages into two types. The pages are either submitted and indexed or indexed, not submitted in sitemap.
For pages in the submitted and indexed category your work is done. There is no further action needed. You submitted a page, it was indexed. Done.
For pages in the indexed, not submitted in sitemap category you can take another step to optimize these. Google found these but you could have made it easier for them.
Add these pages to your sitemap. It makes it easier for Google which will only help you. It can increase the crawl frequency which could have an impact on rankings.
Review the Excluded Pages
Now all of the errors and warnings are fixed, plus the valid pages are configured optimally. Let’s just review the excluded pages list to make sure everything looks right.
This list will list pages that have been excluded in robots.txt and with the noindex meta tag. It will also include duplicate pages.
Same as with the other tabs, you can click on any row to view a complete list of pages that fall under each type.
Reviewing this Index Coverage report on a regular basis will keep you on top of any crawl errors so you can fix them and get every page indexed.
Do you have any strategies you like to use when reviewing the Index Coverage report? Let us know in the comments!
Do you want to listen to this article? Here’s the podcast episode: